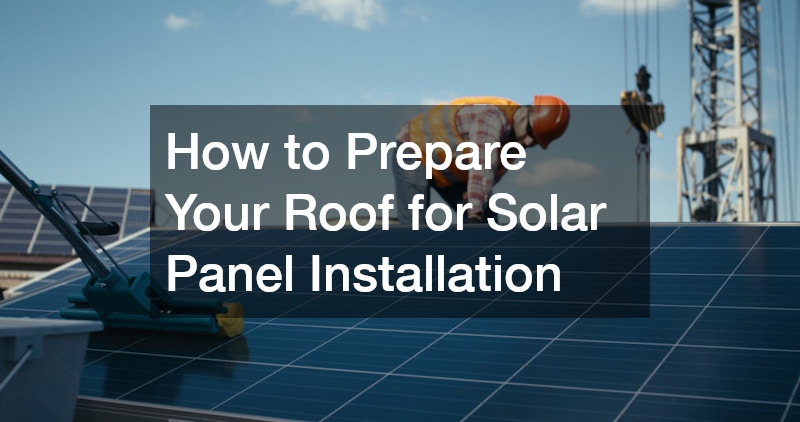
Making the switch to solar is a smart move for Australian households. Whether you’re aiming to reduce power bills, minimise environmental impact or increase property value, solar energy offers long-term benefits. But before jumping into the process, it’s essential to prepare your roof properly. A safe, structurally sound roof ensures your system performs efficiently and lasts for decades.
Here’s a detailed guide to getting your roof ready for solar panel installation, ensuring a smooth transition to clean energy.
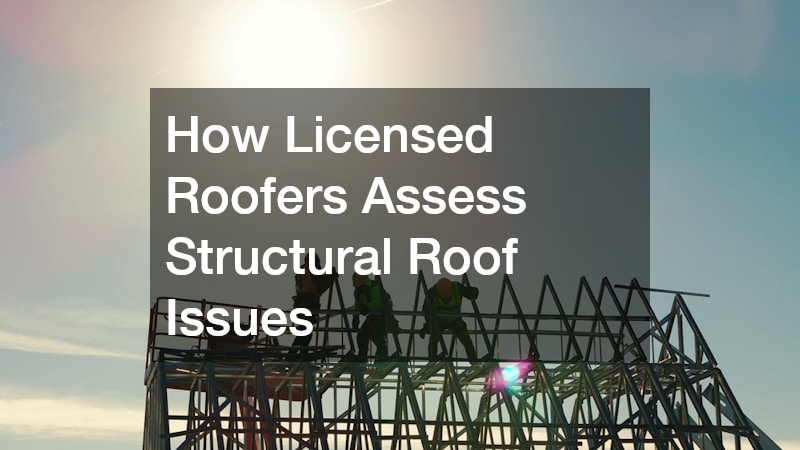
Inspect & Assess the Roof Structure
The first step is to evaluate the current condition of your roof. Since solar panels can last 25 years or more, your roof should be able to support the system for the same duration without major repairs.
Start with a visual inspection. Look for visible signs of wear such as cracked tiles, water damage or sagging areas. If you notice any issues, contact a qualified roofing contractor to conduct a professional assessment. They’ll determine whether repairs or replacements are necessary before installation begins.
Also, consider the age of your roof. If it’s nearing the end of its lifespan, it may be more cost-effective to replace it entirely rather than risk needing work after the solar system is installed.
Check for Shading & Sunlight Exposure
For solar panels to work effectively, they need maximum exposure to direct sunlight. Trees, neighbouring buildings or chimneys can create shadows that significantly reduce energy output.
Observe how sunlight moves across your roof during the day. Use a solar pathfinder or request a solar provider to conduct a shading analysis. If large trees are blocking sunlight, you may need to trim or remove branches. Keep in mind that shading can vary by season, so factor in both summer and winter sun angles.
Also, ensure there’s a clear path for sunlight during peak production hours. Even partial shade during these times can lead to a noticeable drop in performance.
Clear Debris & Clean the Roof Surface
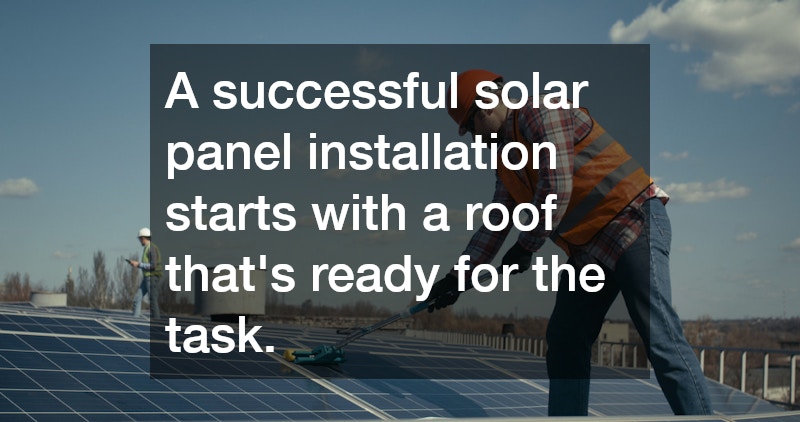
Before installation begins, it’s important to clear your roof of any debris such as leaves, moss, bird nests or dirt build-up. These can interfere with mounting equipment and reduce the longevity of roofing materials.
You can use a long-handled broom or blower to clear dry debris, but stubborn build-up may require professional roof cleaning. Avoid pressure washers as they can damage tiles or force water beneath the roofing material, leading to leaks.
A clean surface ensures better adhesion of mounting brackets and minimises any risk of corrosion or long-term wear.
Review Roof Orientation & Design
In Australia, north-facing roofs generally receive the most consistent sunlight, but east and west-facing sections can also be viable depending on your energy needs.
Examine the layout of your roof to identify which areas offer the most suitable space for panel placement. Take note of obstacles such as vents, skylights or antennas that may need to be worked around.
If your roof has a complex design or multiple angles, a solar specialist can help determine the most effective configuration. In some cases, tilt frames may be installed to optimise panel orientation on flat or less ideal surfaces.
Plan for Accessibility & Safety
Safe access is crucial not only for installation but also for future maintenance. Make sure there’s enough space around the installation area for technicians to work safely.
If your roof is steep or has limited access points, installers may need to use additional safety gear or scaffolding. Discuss these logistics with your chosen provider ahead of time to avoid unexpected costs or delays.
You should also consider the location of the wiring and inverters. Typically, these components are installed near your switchboard or garage. Having a clear plan for cabling routes reduces disruption to your home and speeds up the process.
Coordinate With Your Installer & Council
Before beginning the solar panel installation, confirm that all council regulations and building approvals are met. Some local councils require permits for residential solar projects, particularly if you live in a heritage-listed property or conservation zone.
Your installer should handle most of the approval process, but it’s wise to double-check what’s required in your area. Clear communication with your provider ensures the project stays compliant and on schedule.
It’s also worth verifying if any upgrades are needed to your meter box or switchboard. Modern systems often require compatibility with smart meters and safety devices such as isolators or circuit breakers.
A successful solar panel installation starts with a roof that’s ready for the task. From checking structural integrity to clearing debris and planning for access, preparation is key to ensuring your investment delivers long-term results.
Taking the time to prepare your roof properly not only protects your home but also helps maximise the performance of your solar energy system. With the right foundation in place, you’ll be well on your way to harnessing clean, renewable power for years to come, reducing your carbon footprint while enjoying greater energy independence and long-term financial savings.
.