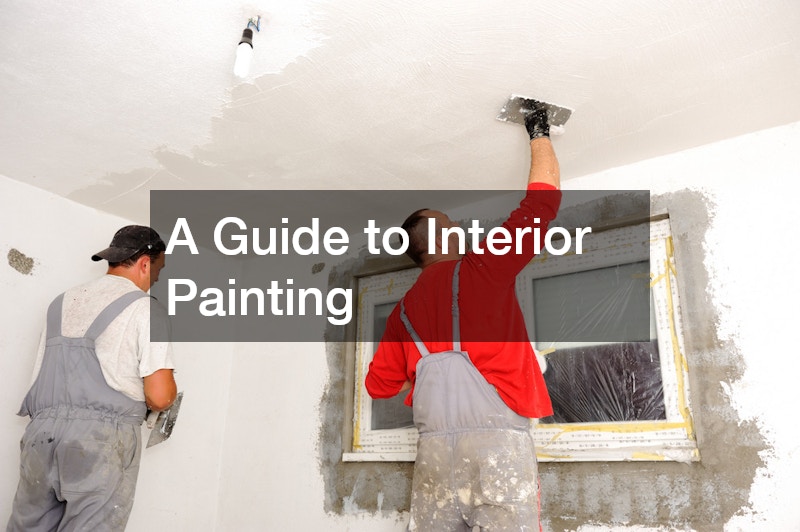
Interior painting can transform your home’s look and feel. Whether refreshing a room or tackling a full house, this guide will help you achieve a professional finish with aesthetic benefits and wall protection. It can cover imperfections, enhance light, and affect your mood.
Understanding the steps and right techniques will lead to a satisfying outcome.
1. What Are the Best Tools for Interior Painting?
1.1 Brushes and Rollers
Choosing the right brushes and rollers significantly impacts the quality of your paint job. Synthetic bristles are ideal for water-based paints, while natural bristles suit oil-based paints. Rollers with varying nap sizes cater to textured and smooth surfaces. High-quality rollers hold more paint, ensuring a cleaner finish.
1.2 Painter’s Tape and Drop Cloths
Preparation is crucial for a successful paint job. Painter’s tape creates clean lines, and canvas drop cloths absorb drips. Remove tape when the paint is dry to the touch for the best results, and adequately protect surfaces to avoid additional work.
1.3 Specialty Equipment
Specialty equipment like paint sprayers can speed up painting, useful for large areas and high ceilings. Edgers provide a neat finish for walls meeting ceilings or trim. Practice using these tools on a less visible area to avoid mistakes.
2. How to Choose the Right Paint Color?
2.1 Color Testing and Samples
Test paint samples on walls to preview the final appearance. Observe swatches under varying lighting, as color can express style and evoke moods. Natural and artificial lighting can alter appearances dramatically.
2.2 Lighting Considerations
Lighting affects paint color perception. Consider a room’s orientation for light entry throughout the day, as north-facing rooms benefit from warm hues, while south-facing can accommodate cooler tones.
2.3 Harmonizing with Home Decor
Paint color should harmonize with your home decor for a cohesive look. Factors like furniture, fabric colors, and artwork should inform your choice, using color wheels for guidance. Keeping samples alongside room elements aids decision-making.
3. How to Prepare a Room for Painting?
3.1 Cleaning and Repairing Walls
Preparing walls ensures a smooth finish. Clean walls to remove dust and grease, inspect for imperfections to patch and sand. Use a cleaning solution or mild detergent for a pristine base.
3.2 Priming the Surfaces
Priming affects the end result by sealing stains and providing a neutral base. It’s important for drastic color changes or unfinished drywall; not all surfaces require priming. Knowing when to prime optimizes costs.
3.3 Protecting Floors and Furniture
Protect floors and furniture from splatters by moving them away from walls or covering with plastic sheeting or canvas drop cloths. Use painter’s tape for decorative items like light switches and outlet covers.
4. What Are the Techniques for Painting Different Surfaces?
4.1 Painting Walls
For a professional result, “cut-in” edges with a brush before filling with a roller. Use even strokes and interlocking patterns for coverage; allow drying between coats to avoid texture issues. Always choose high-quality paint for the best finish and durability.
4.2 Trims and Ceilings
Angled brushes provide precision for trims, and a quality ladder aids ceiling painting. Ceilings should be painted before walls to avoid drips, and light sanding ensures better adhesion. Utilize masking tape to protect walls and achieve clean lines on trims.
4.3 Textured Surfaces
Use thick-nap rollers for textured surfaces, applying paint from multiple directions for coverage. Practice maintaining texture and touch up missed areas with a brush. Consider using a stippling technique to enhance texture and conceal imperfections.
5. How to Ensure a Quality Finish?
5.1 Optimal Drying Conditions
Optimal drying conditions are essential. Room temperature around 70°F and balanced humidity help, with ventilation expediting drying but avoiding strong gusts.
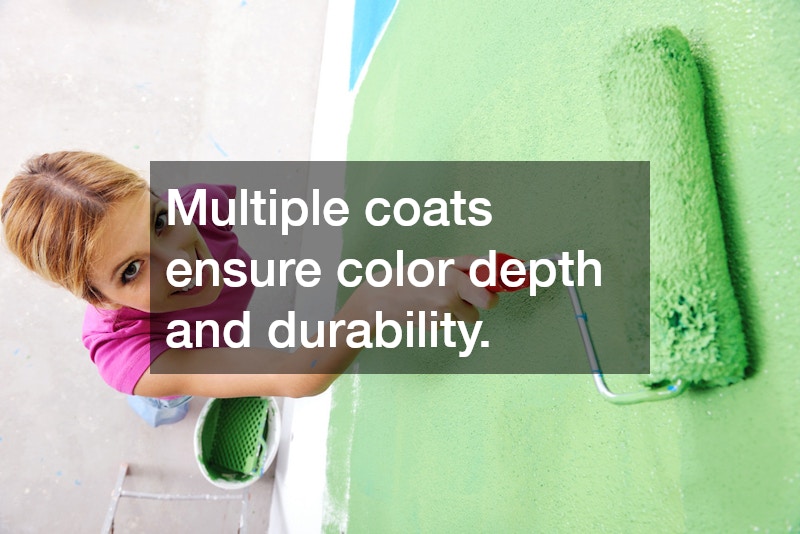
5.2 Multiple Coats and Sanding
Multiple coats ensure color depth and durability. Light sanding between coats aids adhesion, extending the lifespan of the paint job.
5.3 Dealing with Common Problems
Common issues like drips or streaks arise from overloading tools with too much paint or inadequate stirring. Address quickly by wiping drips and applying careful subsequent coats to rectify.
The right tools, techniques, and preparation can achieve a professional-looking paint job, enhancing aesthetics and protecting surfaces. Patience and thoroughness are key. Furthermore, understanding the intricacies of different paint types and finishes can significantly impact the final outcome.